15 DIY Small Craft Room Ideas
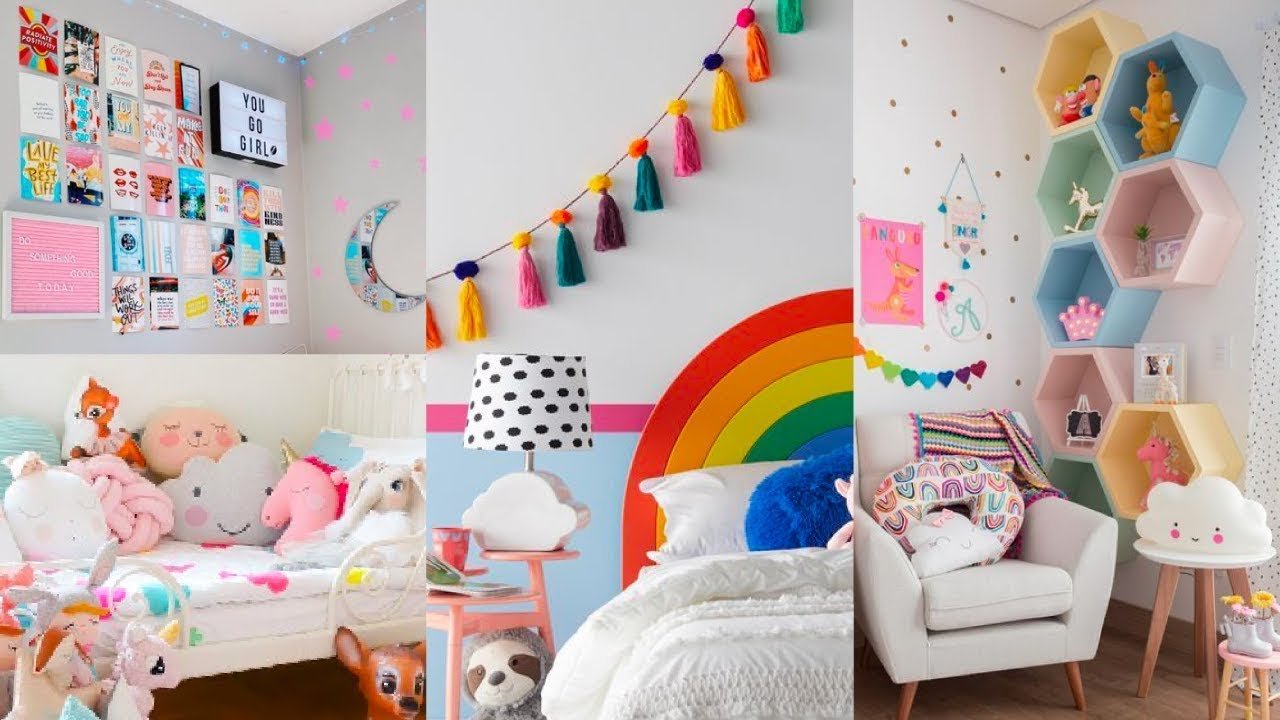
Why a Good Layout Matters
- Makes things easier to find: saves time.
- Less clutter, less stress.
- Better use of daylight / lighting.
- More comfort: you’ll enjoy crafting more.
- Maximizes every inch: small room means every corner counts.
15 DIY Small Craft Room Ideas
Here are 15 ideas, with tips on how to do them cheaply or by yourself:
Use Wall Pegboards
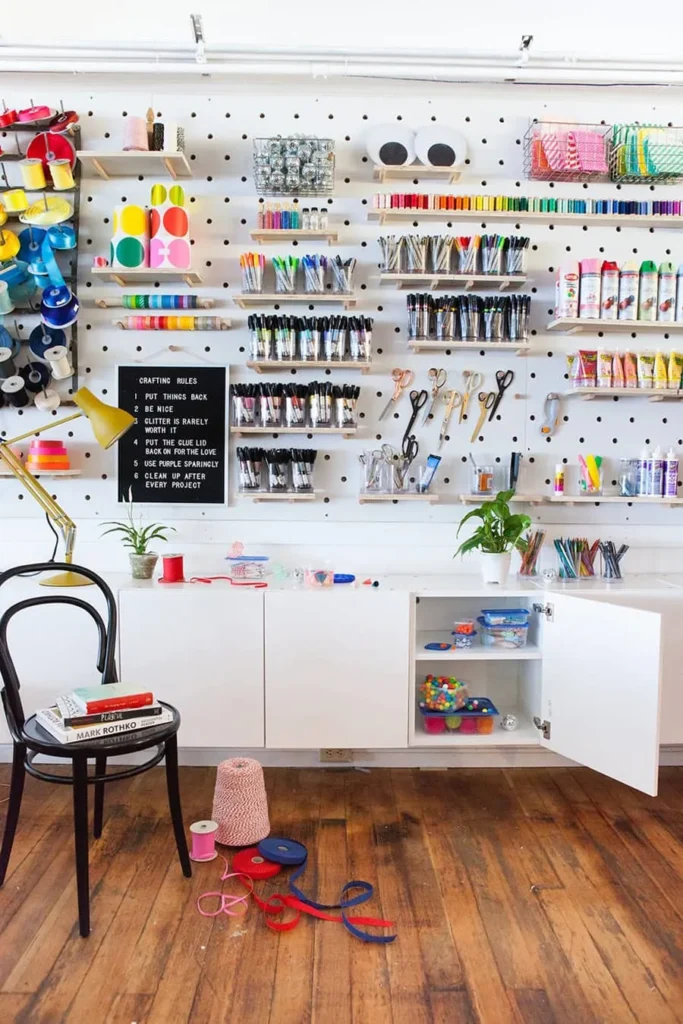
Mount a pegboard on the wall to hang tools, scissors, threads, rulers, tapes, etc. With small hooks, you can customize what hangs there. Pegboards free up table space and help you see what you have.
DIY tip: Use an old perforated board, or buy cheap pegboard panels. Paint them a color you like. Use wooden clothespins + metal hooks to hang items.
Fold Down or Drop Leaf Tables
If floor space is tight, use a table that folds away or has drop leaves. You fold it down when not crafting.
DIY tip: Mount a hinge on the wall and use a fold-down shelf as your work area. Use folding legs (that you can latch) for stability.
Rolling Carts for Mobile Storage
Carts on wheels are great. You can roll them beside you when working, then push them into a corner when done.
What to store: tools you use often, colors, paints, brushes.
DIY tip: You can repurpose an old small bookshelf, add casters (wheels), add small trays.
Floating Shelves
Shelves mounted on walls (floating shelves) remove the need for bulky furniture. They store supplies or display inspiration / finished projects.
DIY tip: Use reclaimed wood or thick plywood as shelf boards. Use strong brackets, paint or stain them.
Over Door Organizers
The back of a door is usually wasted space. Use over-door shoe organizers, or multi-pocket organizers, or racks to hold small items.
What works: glues, tapes, sprays, small containers, threads.
Drawer Dividers Clear Bins
Inside drawers, use dividers to organize by type (e.g. pens vs brushes). Clear bins allow you to see what is inside without opening them.
DIY tip: Use cardboard pieces or thin plywood to make dividers. Reuse plastic containers, jars, ice-cube trays.
Vertical Storage Tall Cabinets
Using height helps when floor area is limited. Tall cabinets that reach near the ceiling, vertical shelves, tall racks.
DIY tip: Anchor tall furniture to the wall for safety. Make upper shelves less often used items.
Multi Use Furniture
Furniture that does more than one thing saves space. For example:
- A desk with shelves above
- A cutting table that folds out
- A bench with storage inside
DIY tip: Modify old furniture: add storage under chairs, convert an old table to have drawers, etc.
Good Lighting Task Lights
Small rooms often suffer from poor lighting. Good overhead light + focused task lighting at your work area makes a difference.
DIY tip: Use LED strip lights under shelves; clip-on lamps; daylight bulbs if possible. If there’s a window, try to make the workspace near it.
Zone Your Space
Divide your room into zones by activity. For example: cutting zone, sewing zone, painting zone, storage zone. Even in small rooms, having these zones helps keep things organized and reduces mess.
Pegboard Hooks Peg Accessories
This is related to pegboards, but deserves its own mention: combined with accessories (baskets, small shelves, jars) you can adapt the pegboard for many different supplies.
Use Repurposed Upcycled Items
Old boxes, crates, tin cans, jars, old furniture pieces can all be used. It saves money and adds character.
Examples: wooden crates as shelves; mason jars for pens; spice racks for small items; plastic food containers for beads.
Storage Under Work Surface
Use the space under your table/workbench. Perhaps small drawers, shelving, baskets.
DIY tip: Mount sliding drawers; hang baskets from the underside; use storage cubes.
Magnetic Strips Boards
Use magnetic strips to hold metal items: scissors, blades, drills, etc. Magnet boards can also display ideas, patterns, photos.
DIY tip: Reuse thin metal sheets; get magnetic strips from hardware store; make a magnetic board with frame.
Keep It Tidy with Daily Clean-Up Rituals
Organization isn’t only about furniture. Habits matter. At end of each craft session, spend 5-10 minutes putting everything back. Label bins/shelves so you know where things go.
Table of Contents
Introduction / Description
Why a Good Layout Matters
Idea 1: Use Wall Pegboards
Idea 2: Fold-Down or Drop-Leaf Tables
Idea 3: Rolling Carts for Mobile Storage
Idea 4: Floating Shelves
Idea 5: Over-Door Organizers
Idea 6: Drawer Dividers & Clear Bins
Idea 7: Vertical Storage & Tall Cabinets
Idea 8: Multi-Use Furniture
Idea 9: Good Lighting + Task Lights
Idea 10: Zone Your Space
Idea 11: Pegboard + Hooks + Peg Accessories
Idea 12: Use Repurposed / Upcycled Items
Idea 13: Storage Under Work Surface
Idea 14: Magnetic Strips & Boards
Idea 15: Keep It Tidy with Daily Clean-Up Rituals
Conclusion
Conclusion
Small craft rooms may feel limiting, but with smart design and a few DIY tricks, they become efficient and inspiring spaces. Using wall space, good lighting, adaptable furniture, and organizing tools (pegboards, bins, drawers) can maximize what you have. Equally important are habits: routine clean-ups, labeling, and keeping frequently used tools within reach. Start with one or two of these ideas, adapt them to your space, and gradually build the craft room that best supports your creativity. When your space works for you, crafting becomes more fun and less frustrating.
Table of Contents
Related Post
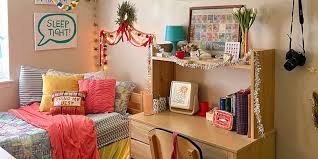
The CUTEST Dorm Room Decor Ideas You Are Going to LOVEThe CUTEST Dorm Room Decor Ideas You Are Going to LOVE
Before You Buy Plan Like a Pro Measure twice, scroll once. Start with the basics: Pro tip: sketch two to three layout options and keep them on your phone for
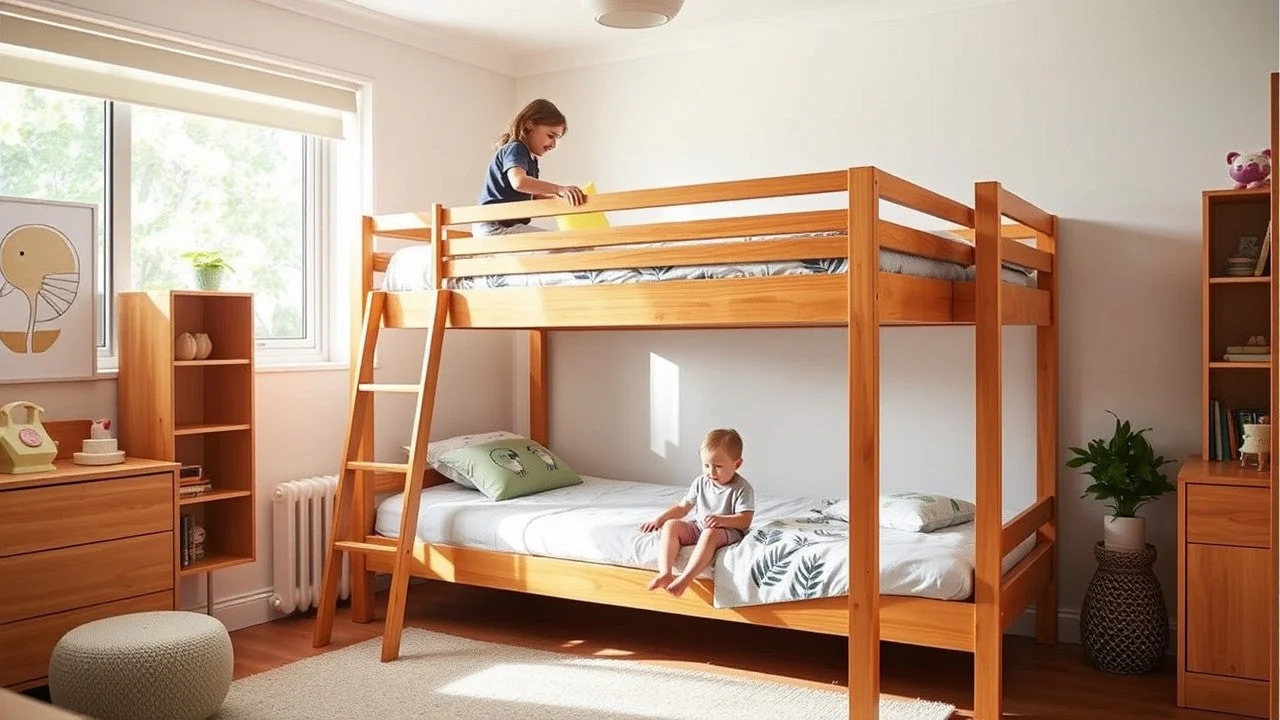
BEAUTIFUL Dorm Room Ideas Lofted Bed DesignsBEAUTIFUL Dorm Room Ideas Lofted Bed Designs
Introduction Moving into a college dorm or setting up a child’s room can be exciting, but it also comes with challenges. Limited space, storage constraints, and the need for personal
kitchen first apartment checklistkitchen first apartment checklist
How to Use This Guide Think of this as your decision filter. Each section splits items into: You’ll also see quick tips to save, based on what actually works: shopping